
SOULSPARK · HELP
User Manual
A practical guide to your library, Glow, short encounters, personal Notes and local save backups. Screens show the Windows app with prepared demonstration data.
Updated 16 October 2026 · Windows 10 / 11
The map’s 100 travellers, chats and notes use demonstration data. Backup nodes come from one identical copy of genuine saves; original saves are unchanged and no restore was performed. These images are not live-player statistics or universal compatibility evidence. Game names and artwork belong to their owners.
1. Start with your own library
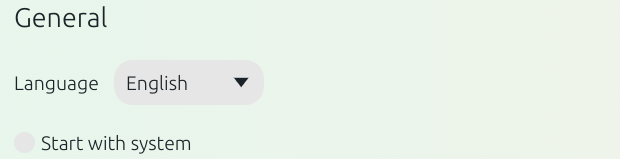
Choose English or Simplified Chinese during setup, or change it later in Settings → General. Finish the welcome steps and open the library.
Local library management and Notes work offline. Glow needs a network connection for live discovery. Sharing your game and city and accepting an encounter are separate choices, both off by default.
- Scan installed games. Use a manual directory when a game is outside the detected platform libraries.
- Review uncertain identities instead of treating a cover or a matching name as confirmation.
- Keep the app open while a scan runs; use the library search to find a title once results appear.
2. Find, launch and configure a game
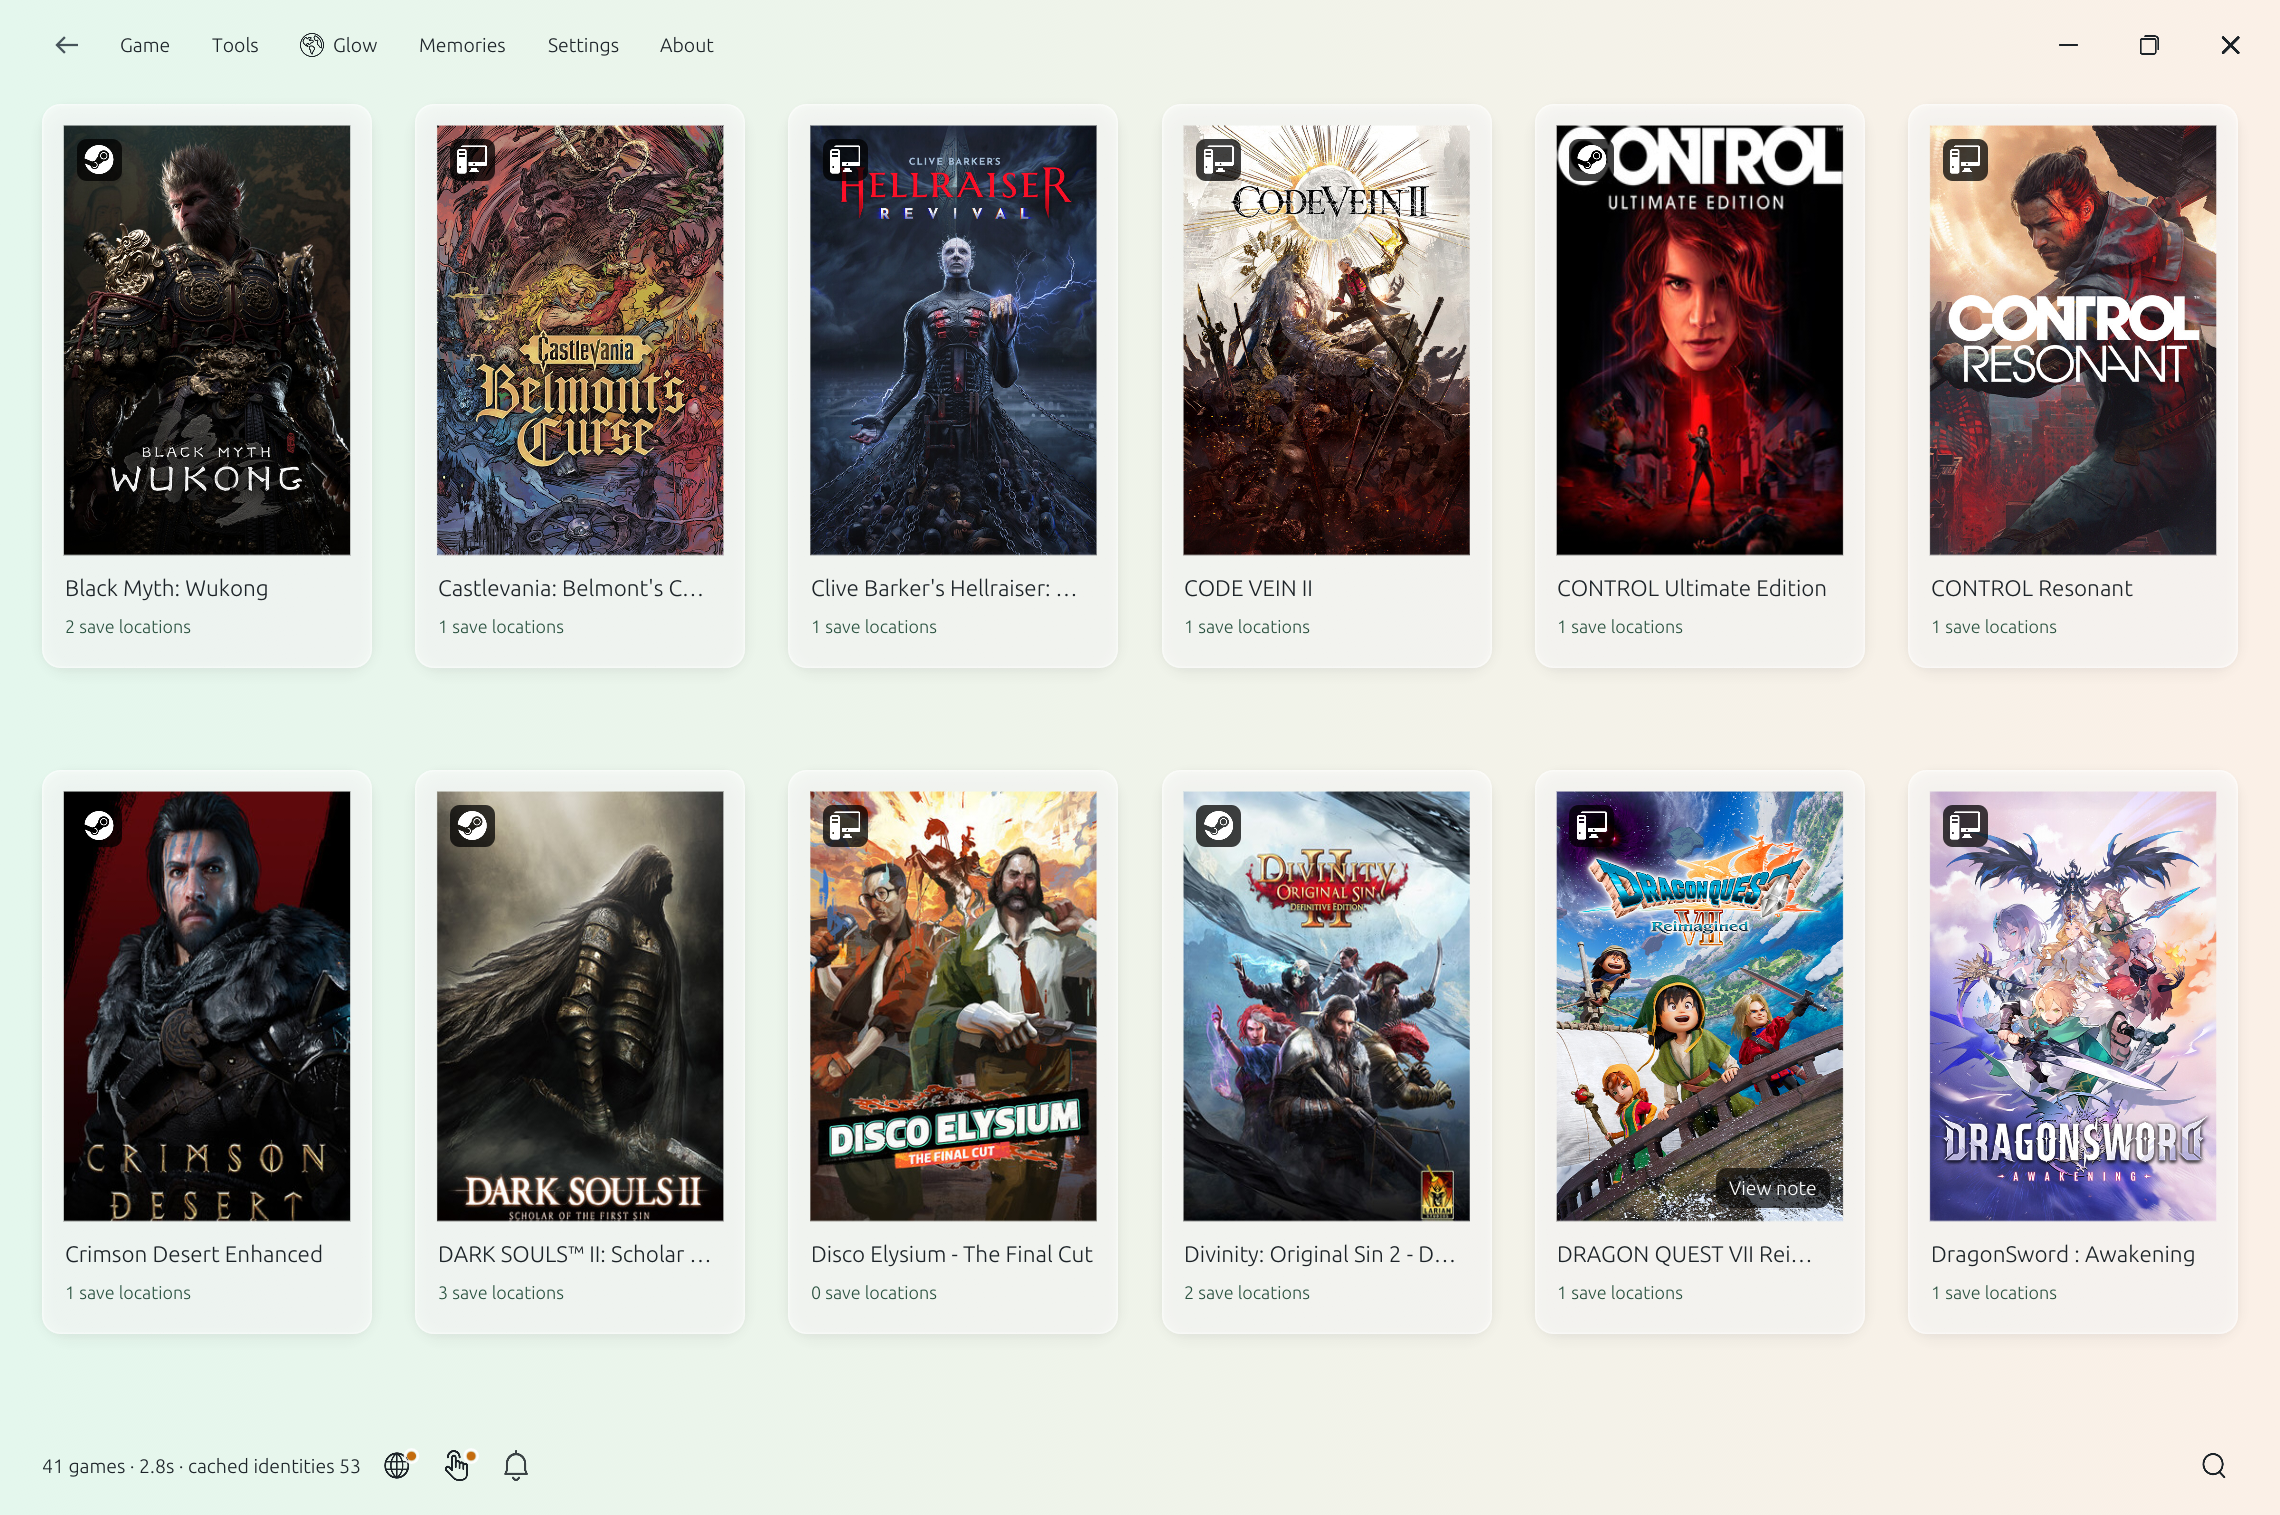
Search by title, open a game’s details and review its identity and available save locations. Missing or uncertain matches may need your confirmation.
Use Play to launch a game. Launch configuration lets you choose an executable, arguments and working directory when needed. A confirmed game identity is separate from a validated save source.
- Select the correct installation when more than one is listed.
- Check launch configuration if the wrong executable opens or a game needs a special launch option.
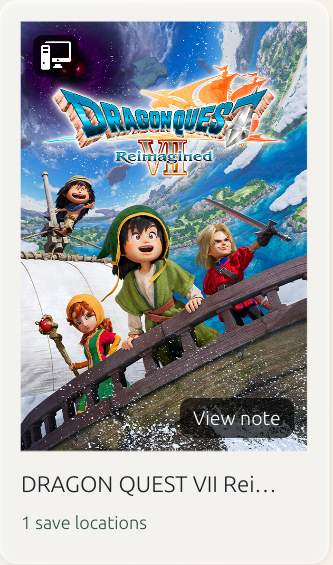
- A View note button appears at the bottom-right of a cover only after you explicitly pin a note to that game. It opens the note without launching the game.
3. Explore Glow
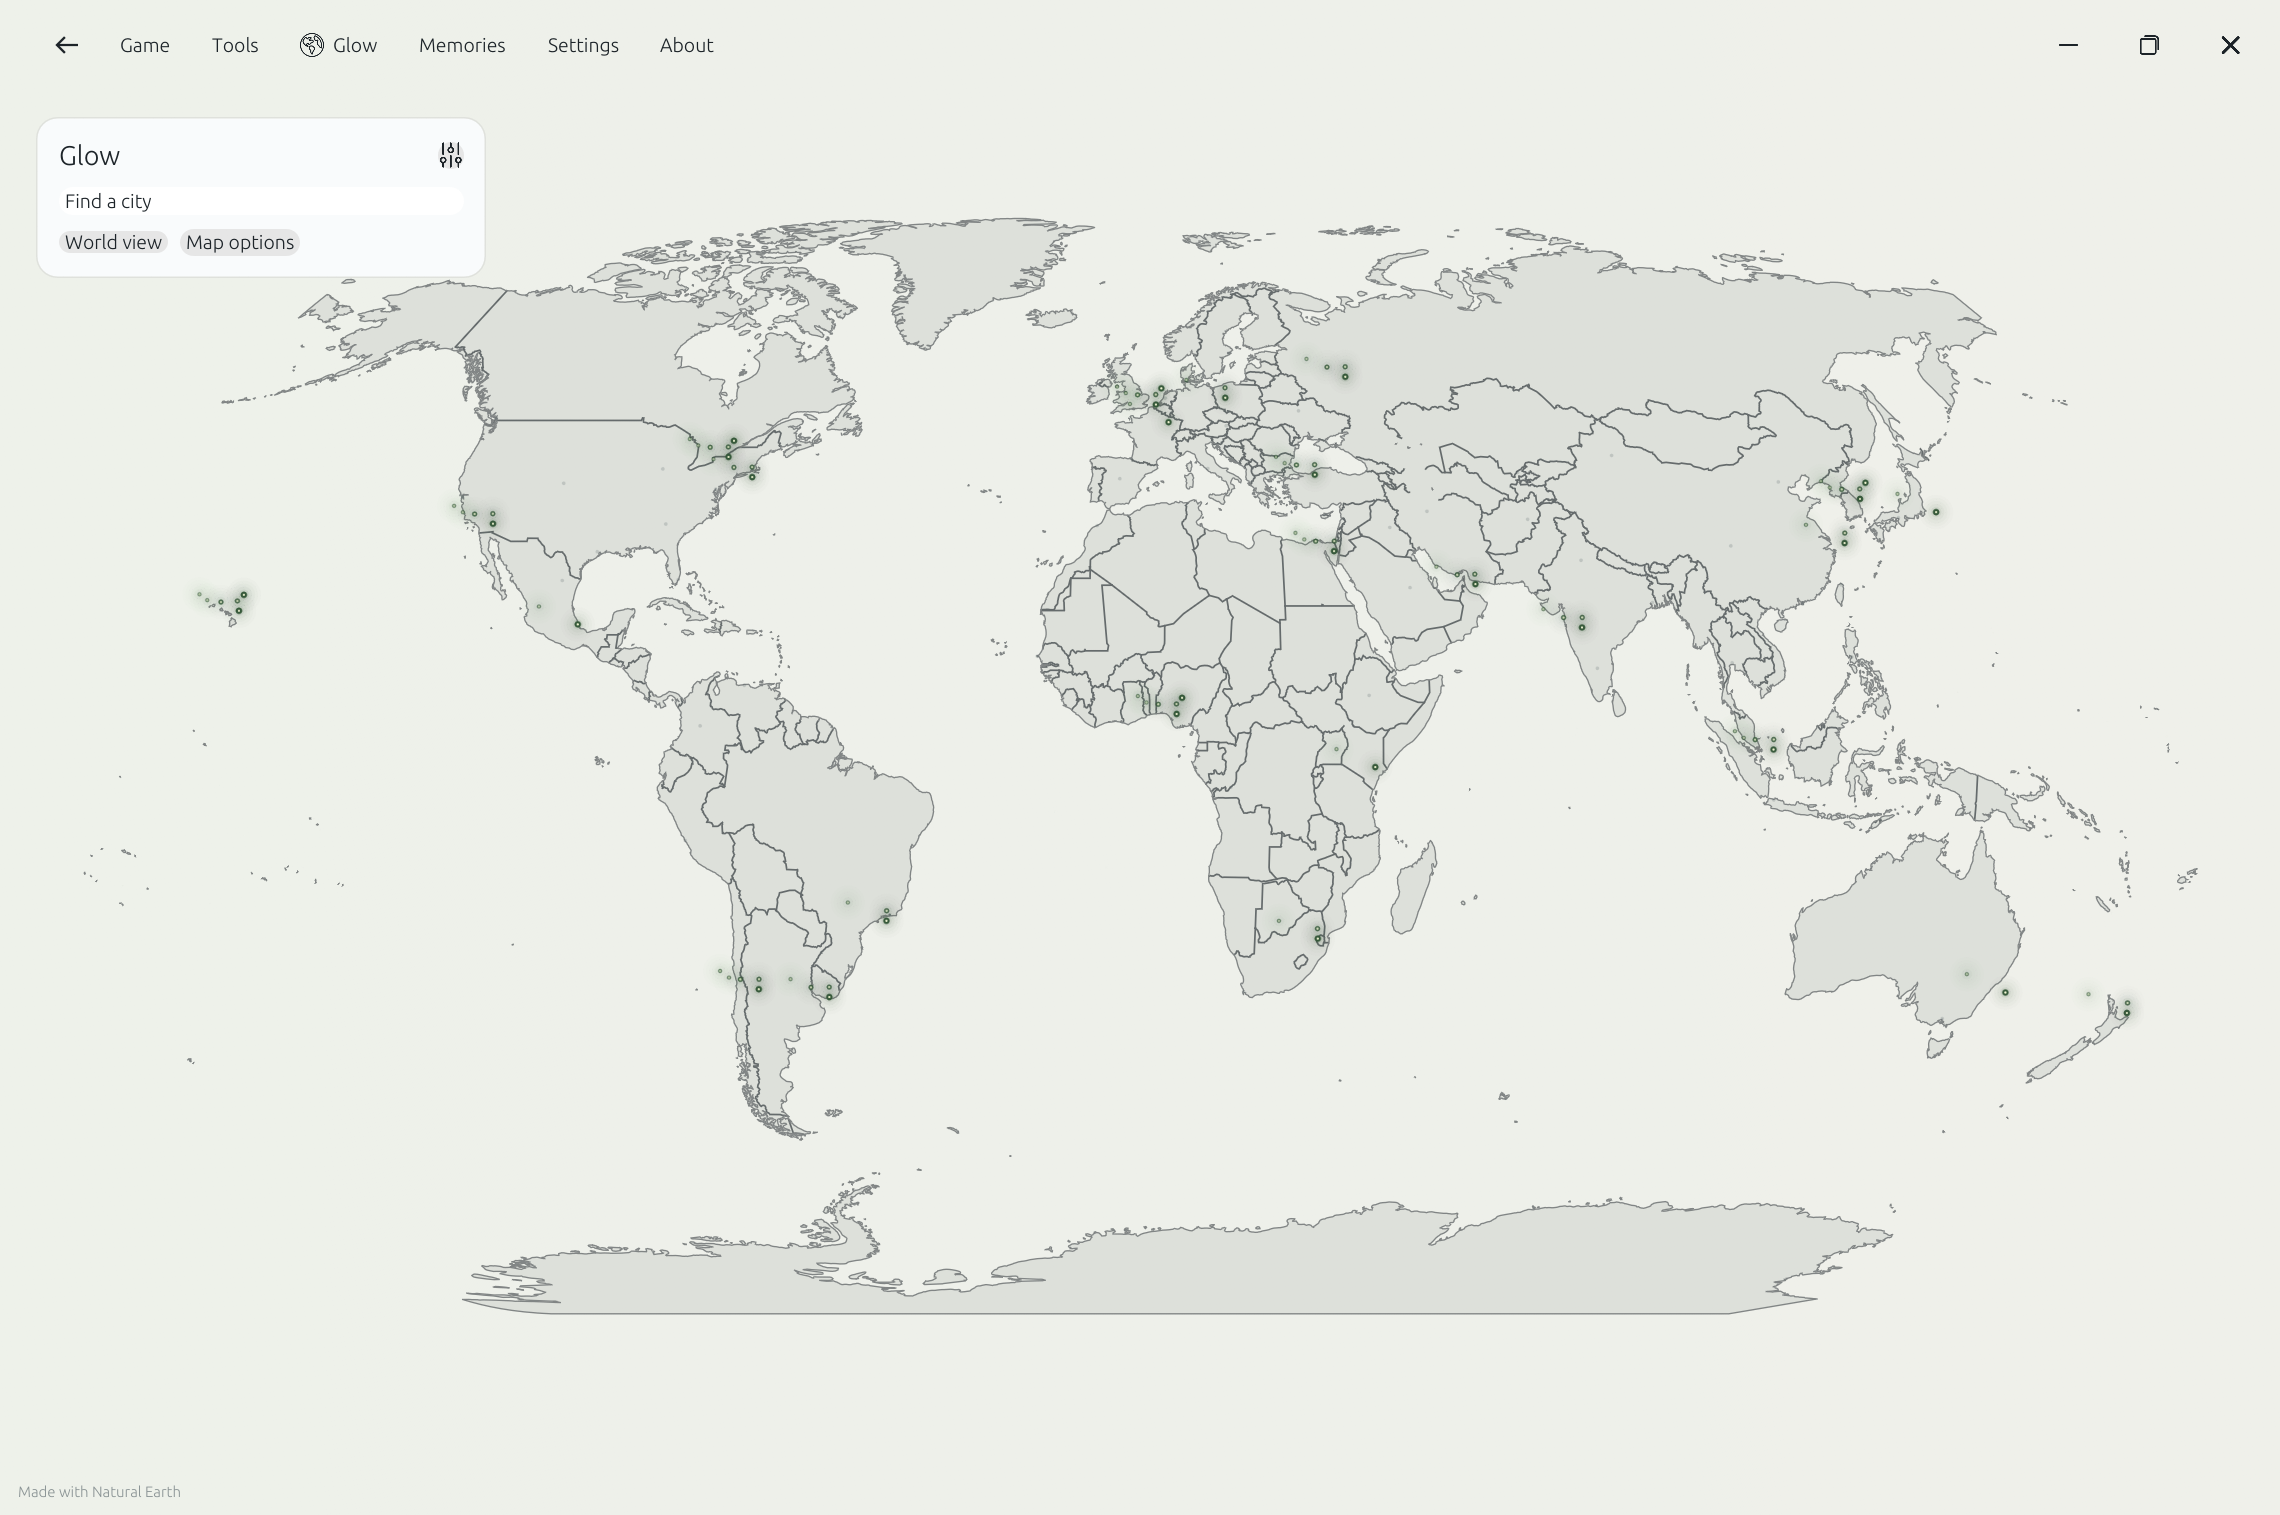
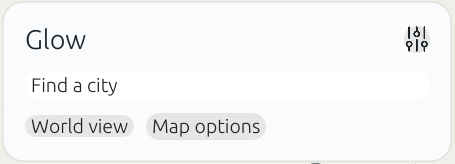
Open Glow from the app menu. Pan the map, zoom in, or search for a city. Country and state/province boundaries help you orient yourself.
Choose a city to inspect public SoulSpark game sessions. Choose a shared game and an available person before inviting them. Counts cover public SoulSpark sessions only, not every player in that city.
- Browse without sharing yourself. Live discovery still requires the network.
- If you want to appear, review the separate sharing and encounter choices in Settings. The map uses an approximate city, not a precise location trail.
- When you are playing the same game, choose a person and send an invitation. Wait for explicit acceptance.
- Use the panel settings icon to change opacity or unlock panel dragging. Reset returns the panel to its default position.
4. A brief encounter, beside your game
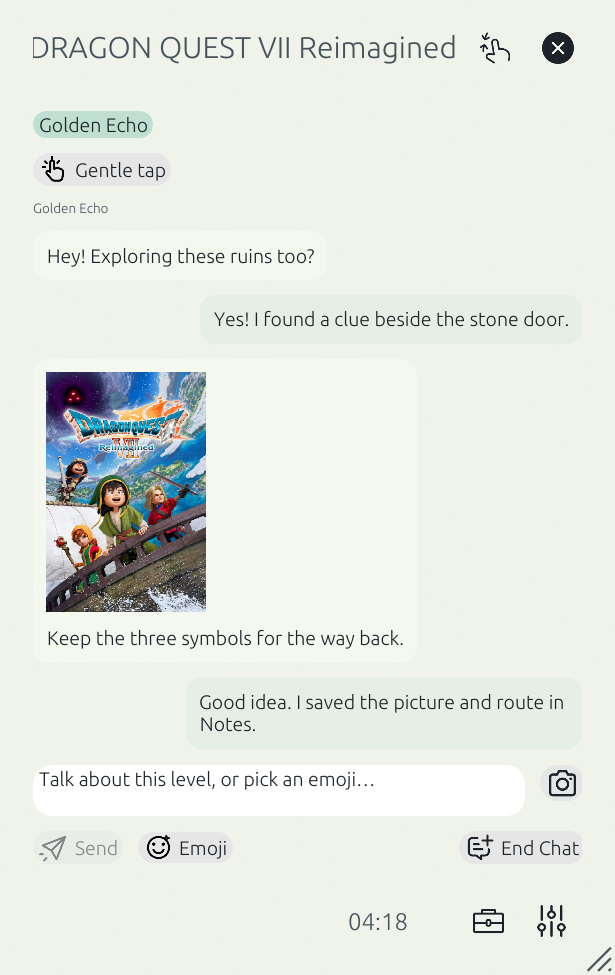
An accepted invitation opens a short conversation in the encounter card. Each conversation lasts up to five minutes and can be ended earlier. Select the intended conversation before typing or attaching a picture.
The message history scrolls independently, while the input and send controls stay at the bottom. The timer beside Toolbox belongs to the selected conversation.
- Write a message, choose an expression if you wish, then use Send.
- Actively choose or paste a picture. Open it to inspect or annotate it before sending.
- Confirming an image edit does not send the image. Return to the prepared attachment and send it separately.
- Use End when you want to leave. There is no friend list, offline messaging or reconnect button for historical peers.
5. Keep a Spark in Memories
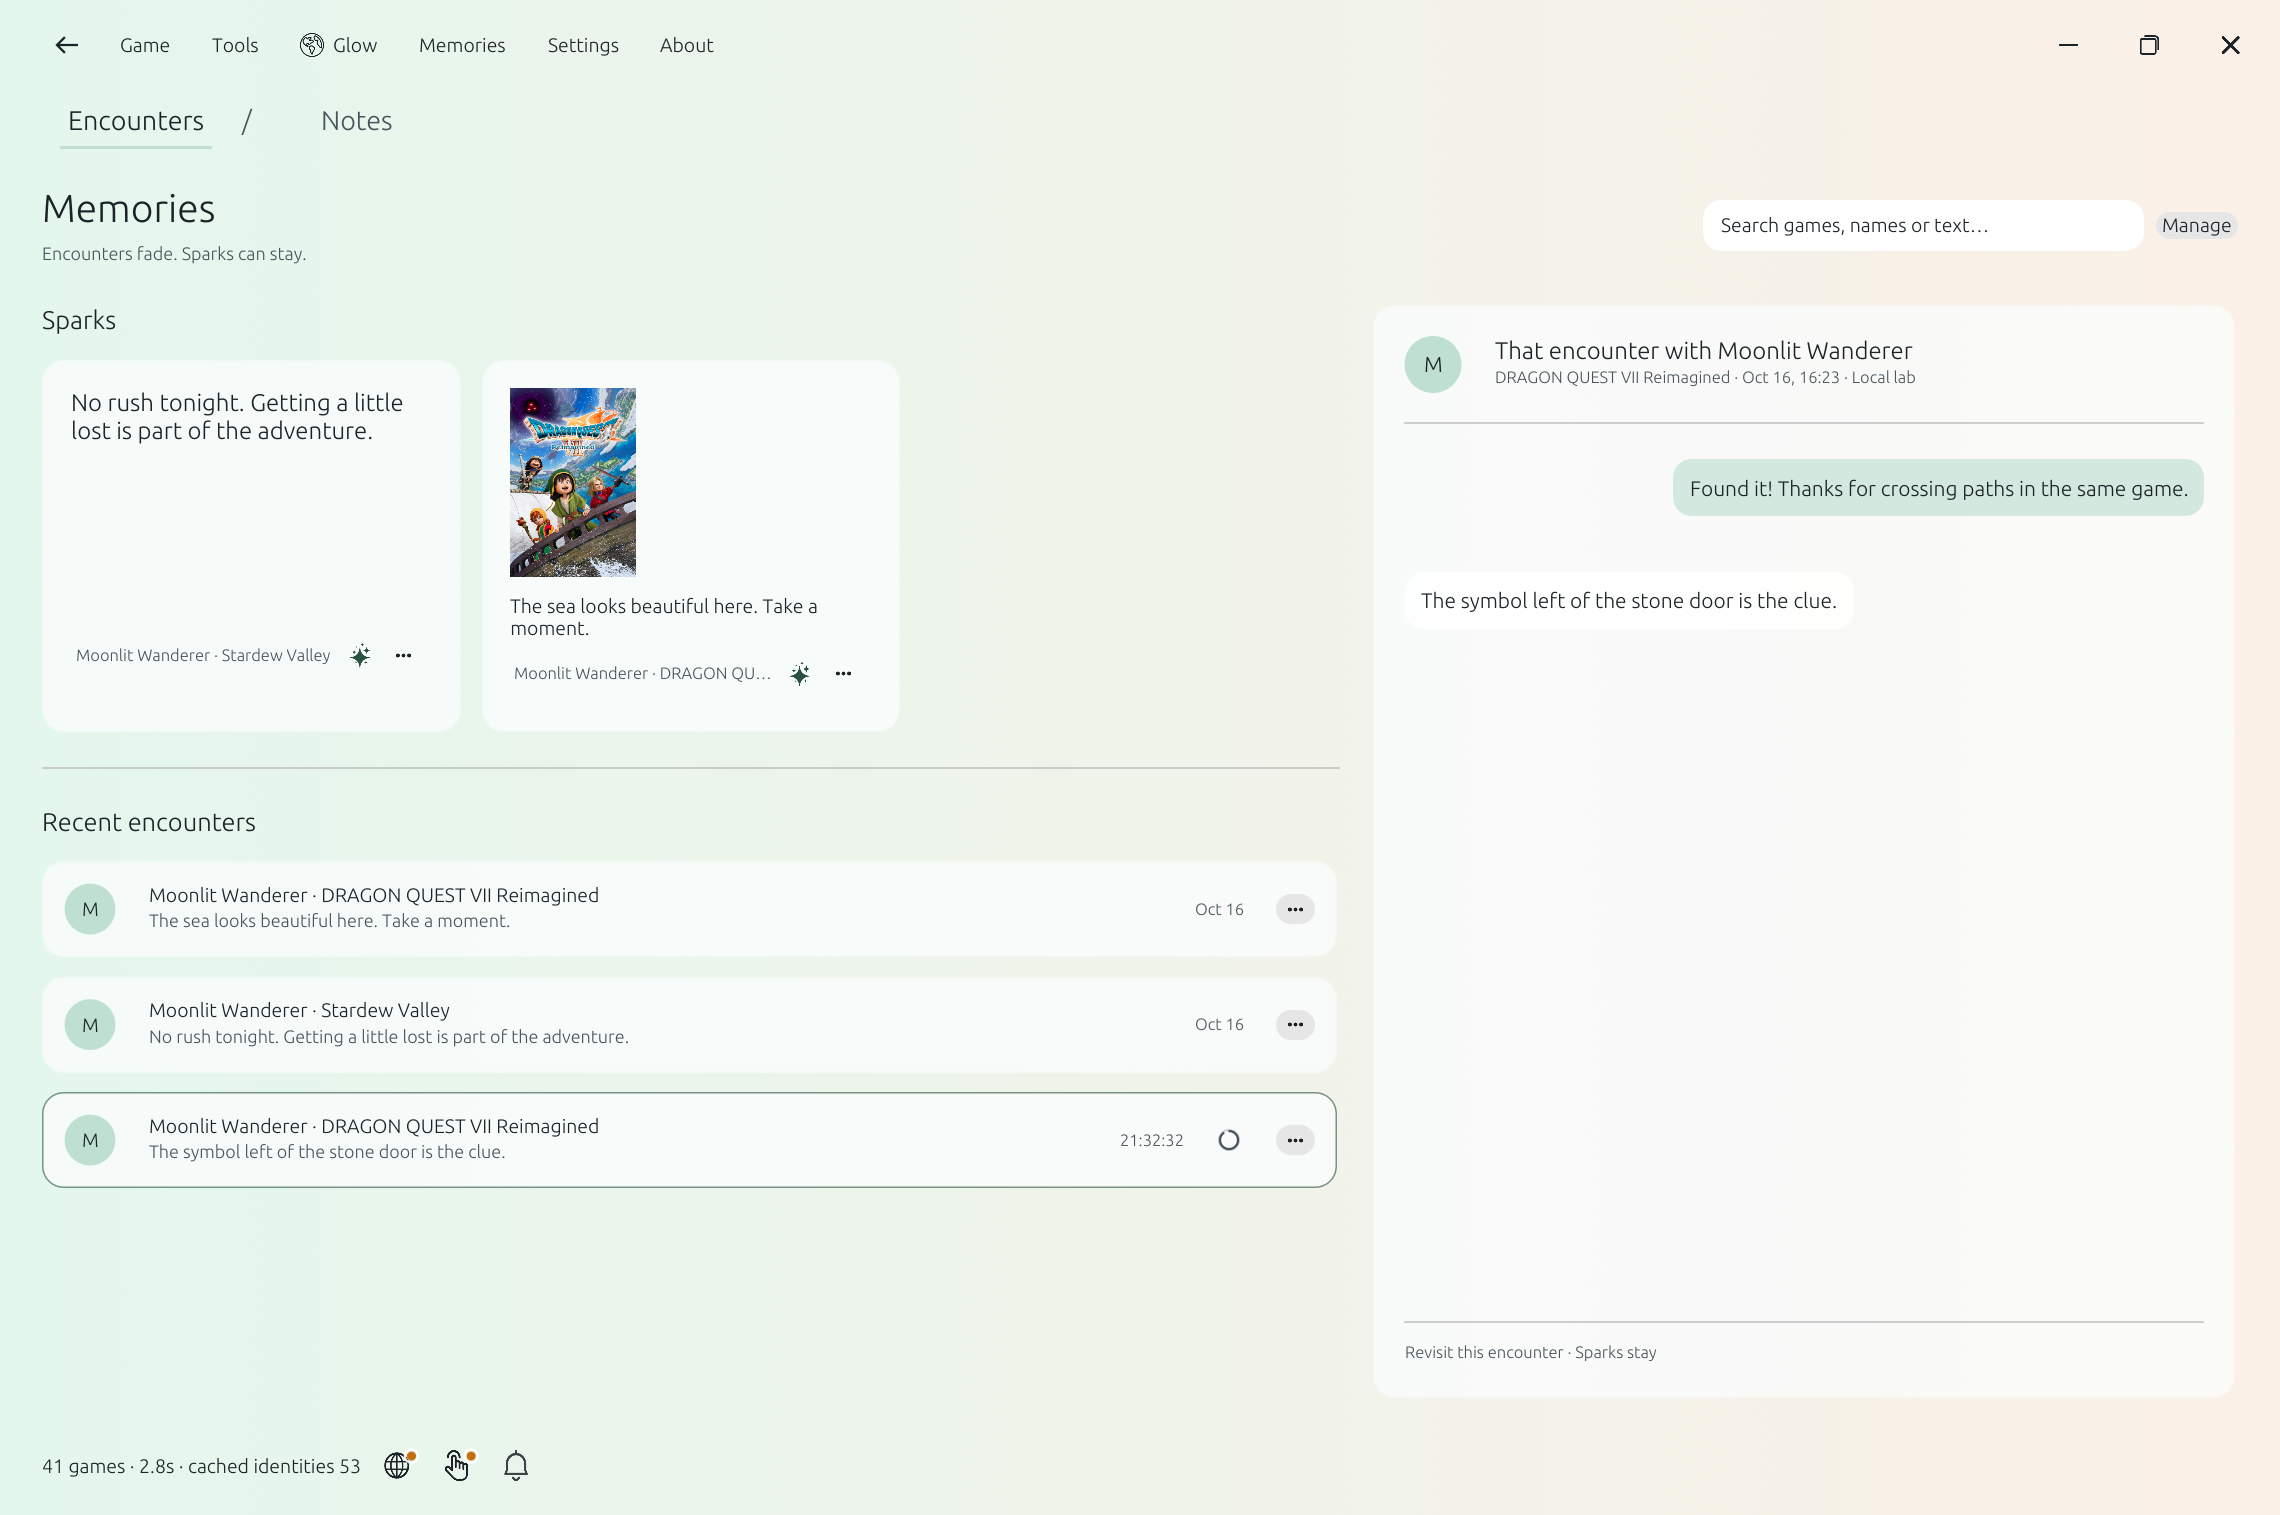
Open Memories → Encounters. Temporary encounters and saved Sparks are grouped on this page. Search for a game, a fragment or a name to find a moment again.
Ordinary text and pictures expire 24 hours after the encounter ends. If the app is closed when they expire, cleanup happens at the next launch. Marking a message as a Spark keeps that message and its attached picture; it does not preserve the whole conversation.
- Open an encounter to read its available messages and pictures.
- Use the star beside a message to keep it as a Spark. A filled star means it is kept. The other person is not notified.
- Use the more menu for record management. Check the confirmation before deleting: deletion affects this device, not the other person’s copy or exported files.
- Use the encrypted Spark export/import controls when making a portable backup. This backup is separate from Notes backups.
6. Write a personal, illustrated note
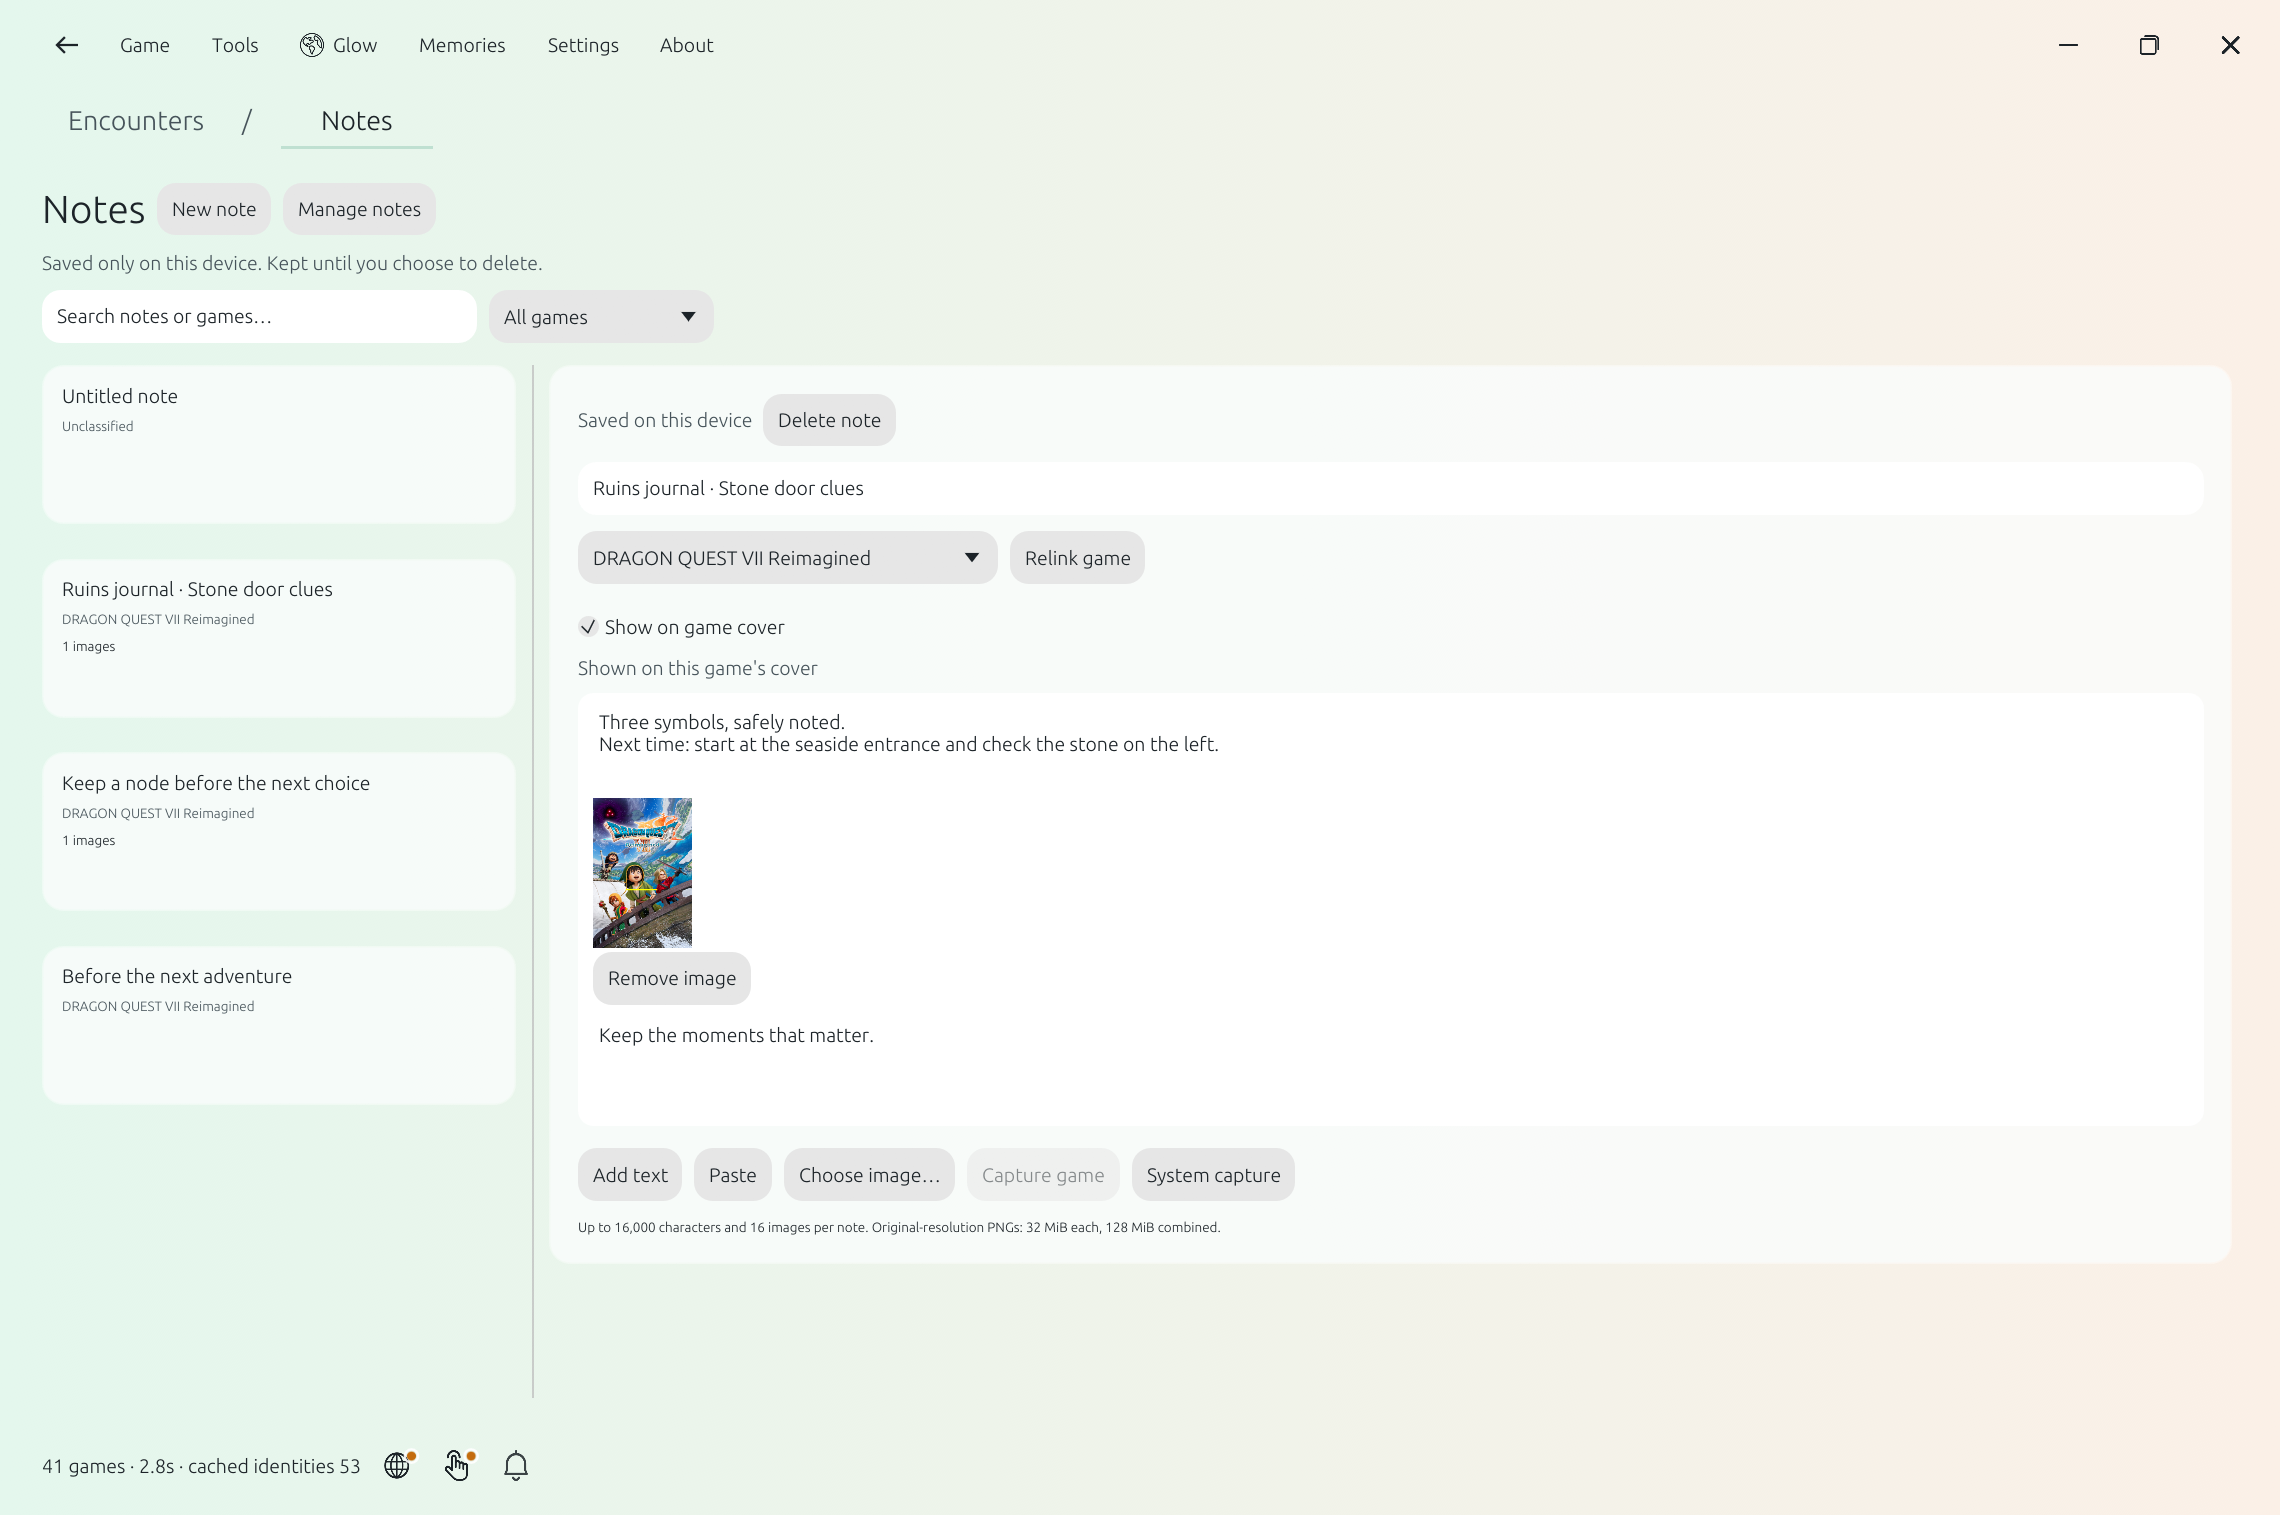
Open Memories → Notes, or open Toolbox → Notes on the encounter card. You can use Notes offline and without an active conversation. A note is personal and is never sent as a chat message.
Text and original-resolution pictures can be mixed in one note. Edits autosave to encrypted local storage; check the save status before quitting. Notes stay until you delete them and do not follow the 24-hour encounter rule.
- Create a note, choose a game if appropriate, and give the note a useful title.
- Write your clue or route. Actively paste text or a picture, or use the capture control when the intended game and display mode support it.
- Open a picture to zoom or annotate it. Confirm the edit to update the note.
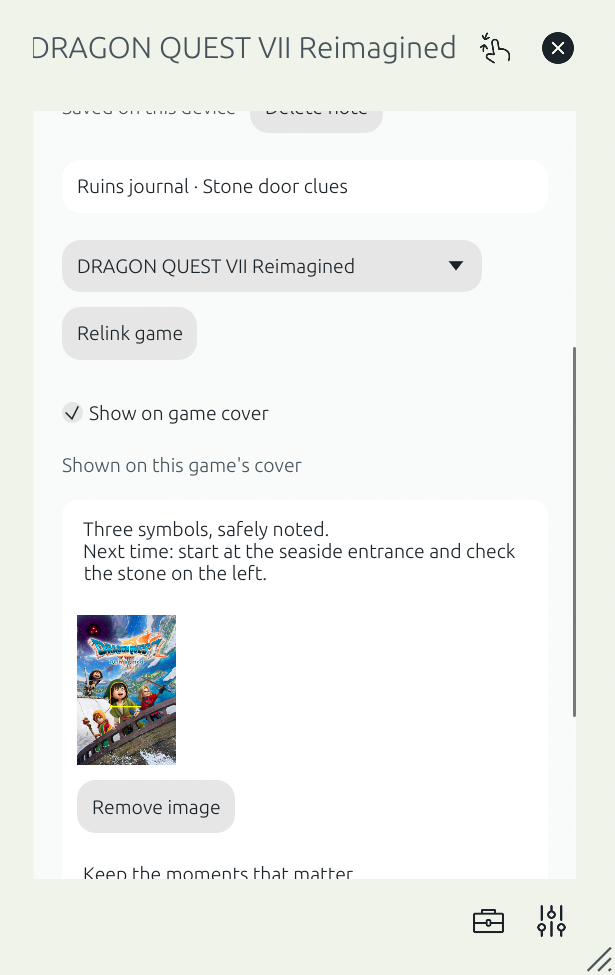
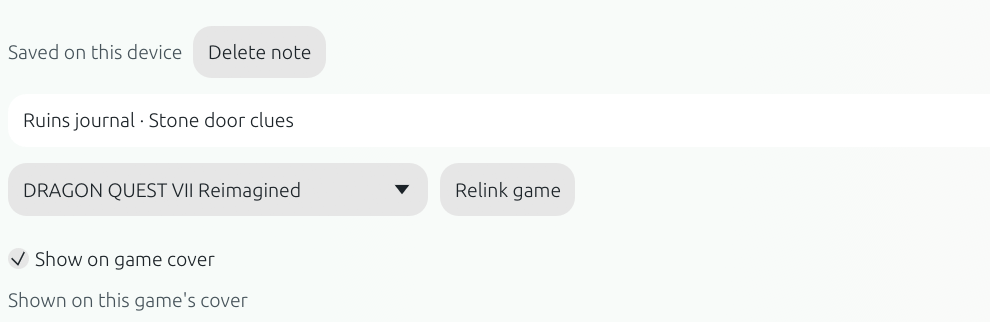
- Use Show on game cover to choose one note for a game’s cover. Replacing or removing that shortcut keeps the note’s contents.
- If a reinstalled or moved game has a different identity, use Relink game and confirm the intended game. Notes are not merged automatically by title.
- Use Notes’ own password-encrypted export/import for notes and pictures. Keep the password separately; a Spark backup does not include your Notes.
7. Inspect and annotate a picture
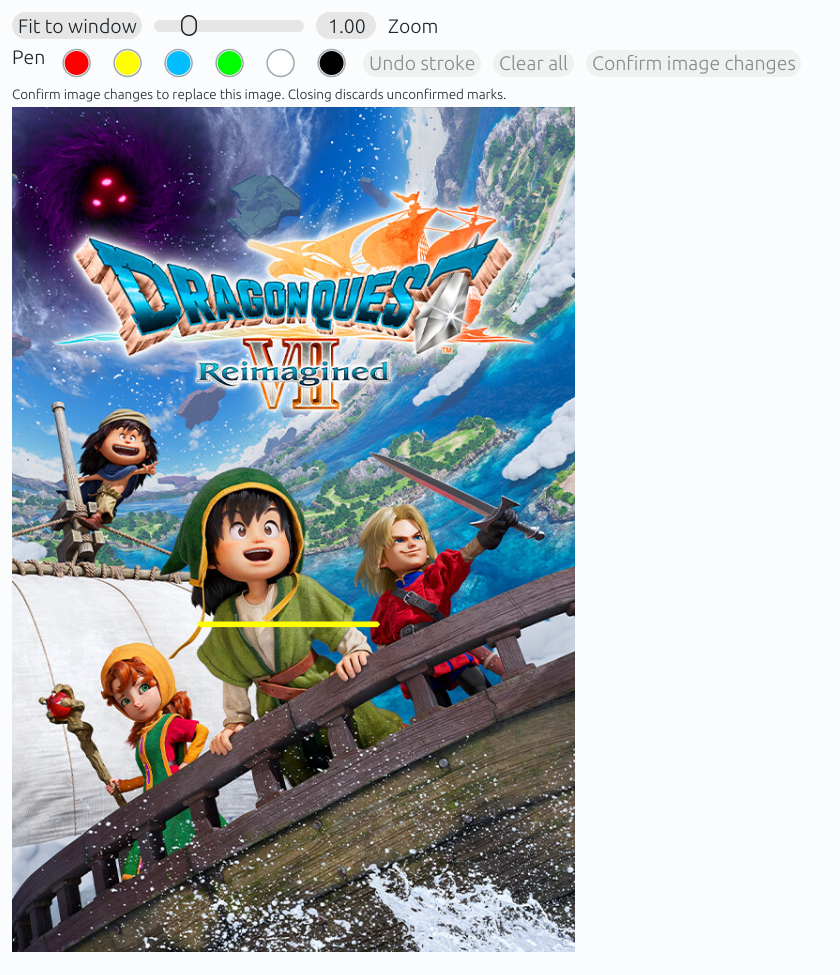
Click an attached picture to open its independent image window. Zoom in on a clue, choose a brush colour and draw directly on the picture. Undo reverses a stroke; Clear removes the current drawing before you confirm.
Confirm saves the edit to the note or prepared chat attachment. Closing or cancelling is different from confirming. For a chat attachment, Send is still a separate step.
- Open the intended picture and inspect it at a useful zoom.
- Select a colour and mark the relevant detail with the brush.
- Review the result, undo an accidental stroke if needed, then confirm.
- Return to Notes to verify the saved picture, or to the chat draft before choosing Send.
8. Back up a moment before a big choice
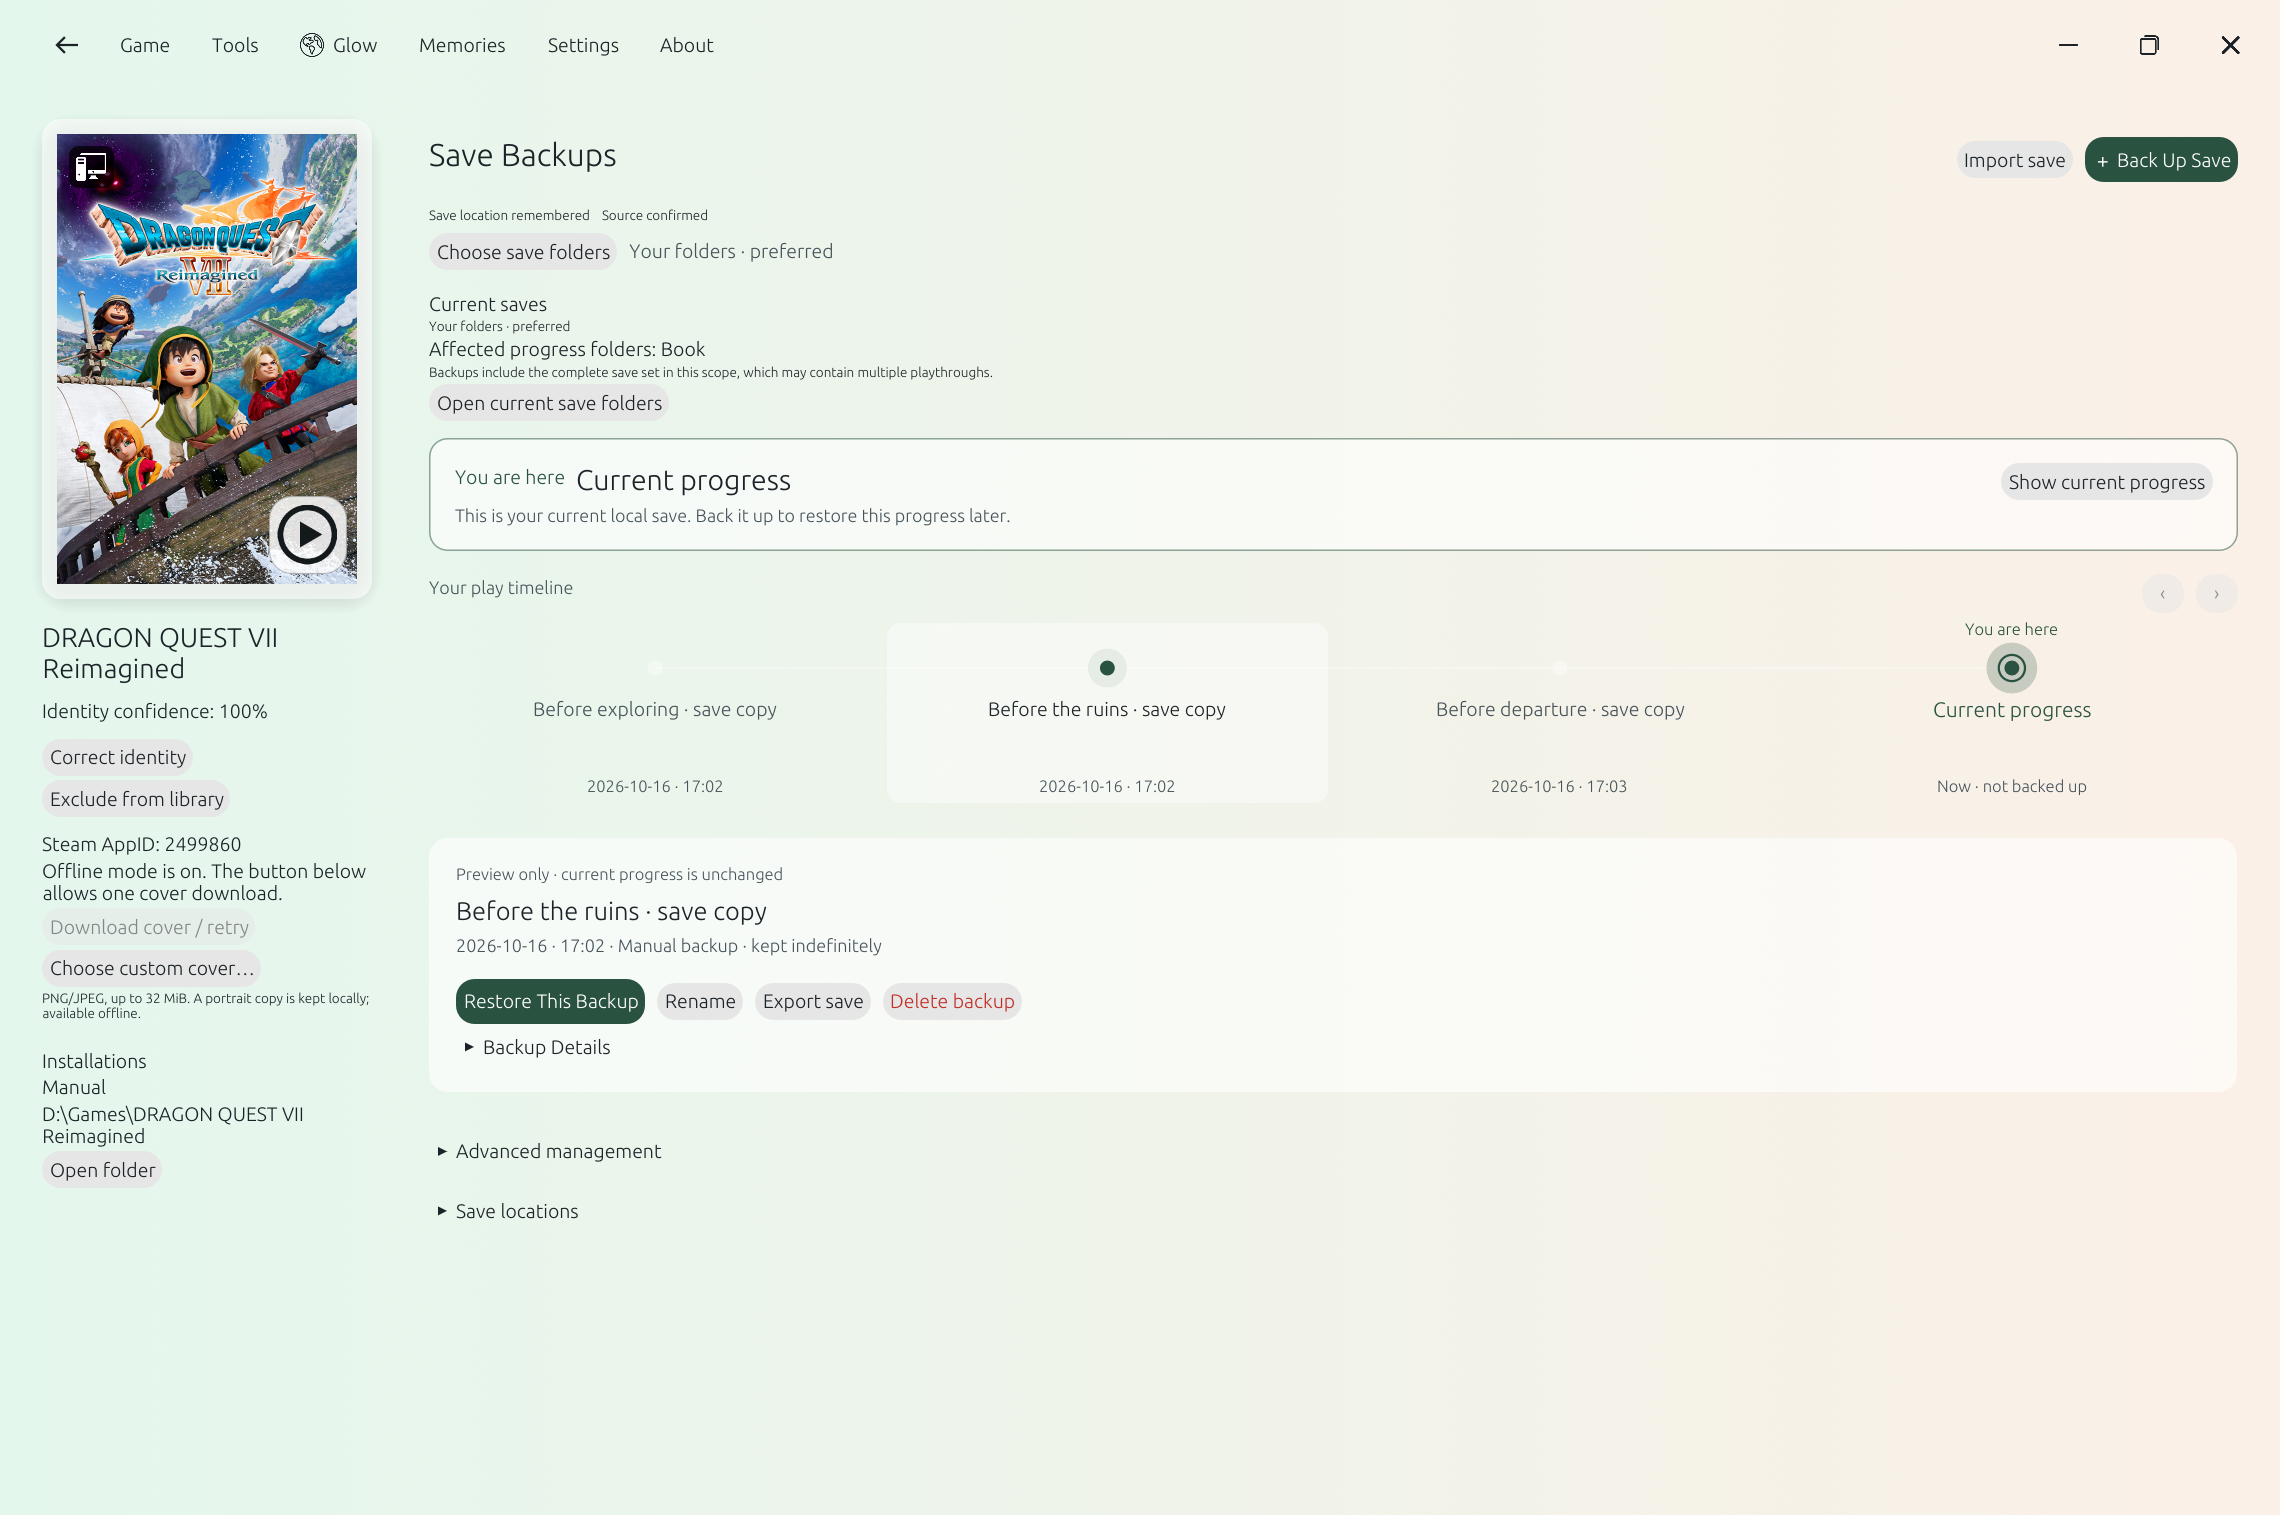
Select a game, then open its save backup page. Confirm the game, installation, account and source before creating nodes. A recognised title does not guarantee that every edition or save format is supported.
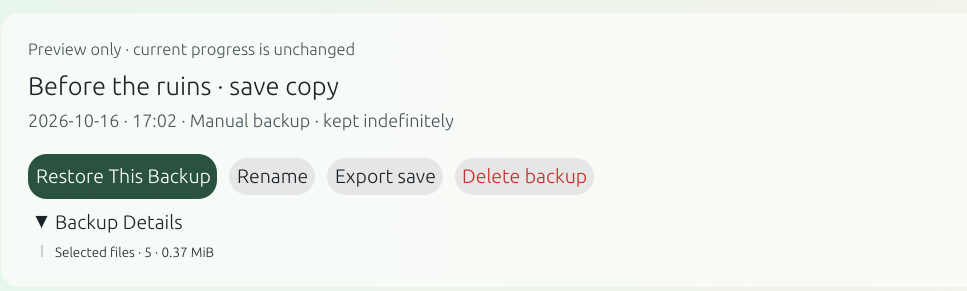
The timeline helps you find backups. Selecting a node shows its details without restoring it. These three Dragon Quest VII nodes were created from one identical copy of genuine saves; they do not represent three different in-game progress states.
- Confirm the save source. Recheck after changing accounts, game versions or save locations.
- Choose Back Up Save to create a timestamp-named node. Select the node and use Rename for a name you will recognise, such as Before the stone door.
- To restore, exit the game, check cloud sync and select the intended node. Review the affected source and details before confirming Restore.
- The app protects the current save before restoring. Undo last restore returns to that protected state when available.
- Export a backup if you need a portable copy. Import creates a new node to review; it does not silently overwrite the current save.
- Launch the game afterwards and verify that the restored save loads correctly. Keep an independent backup when validating a new game.
Unknown sources, unknown process state and known cloud conflicts can block a dangerous restore. Resolve the underlying check; do not treat the screenshot as compatibility certification.
9. Make the app feel like yours
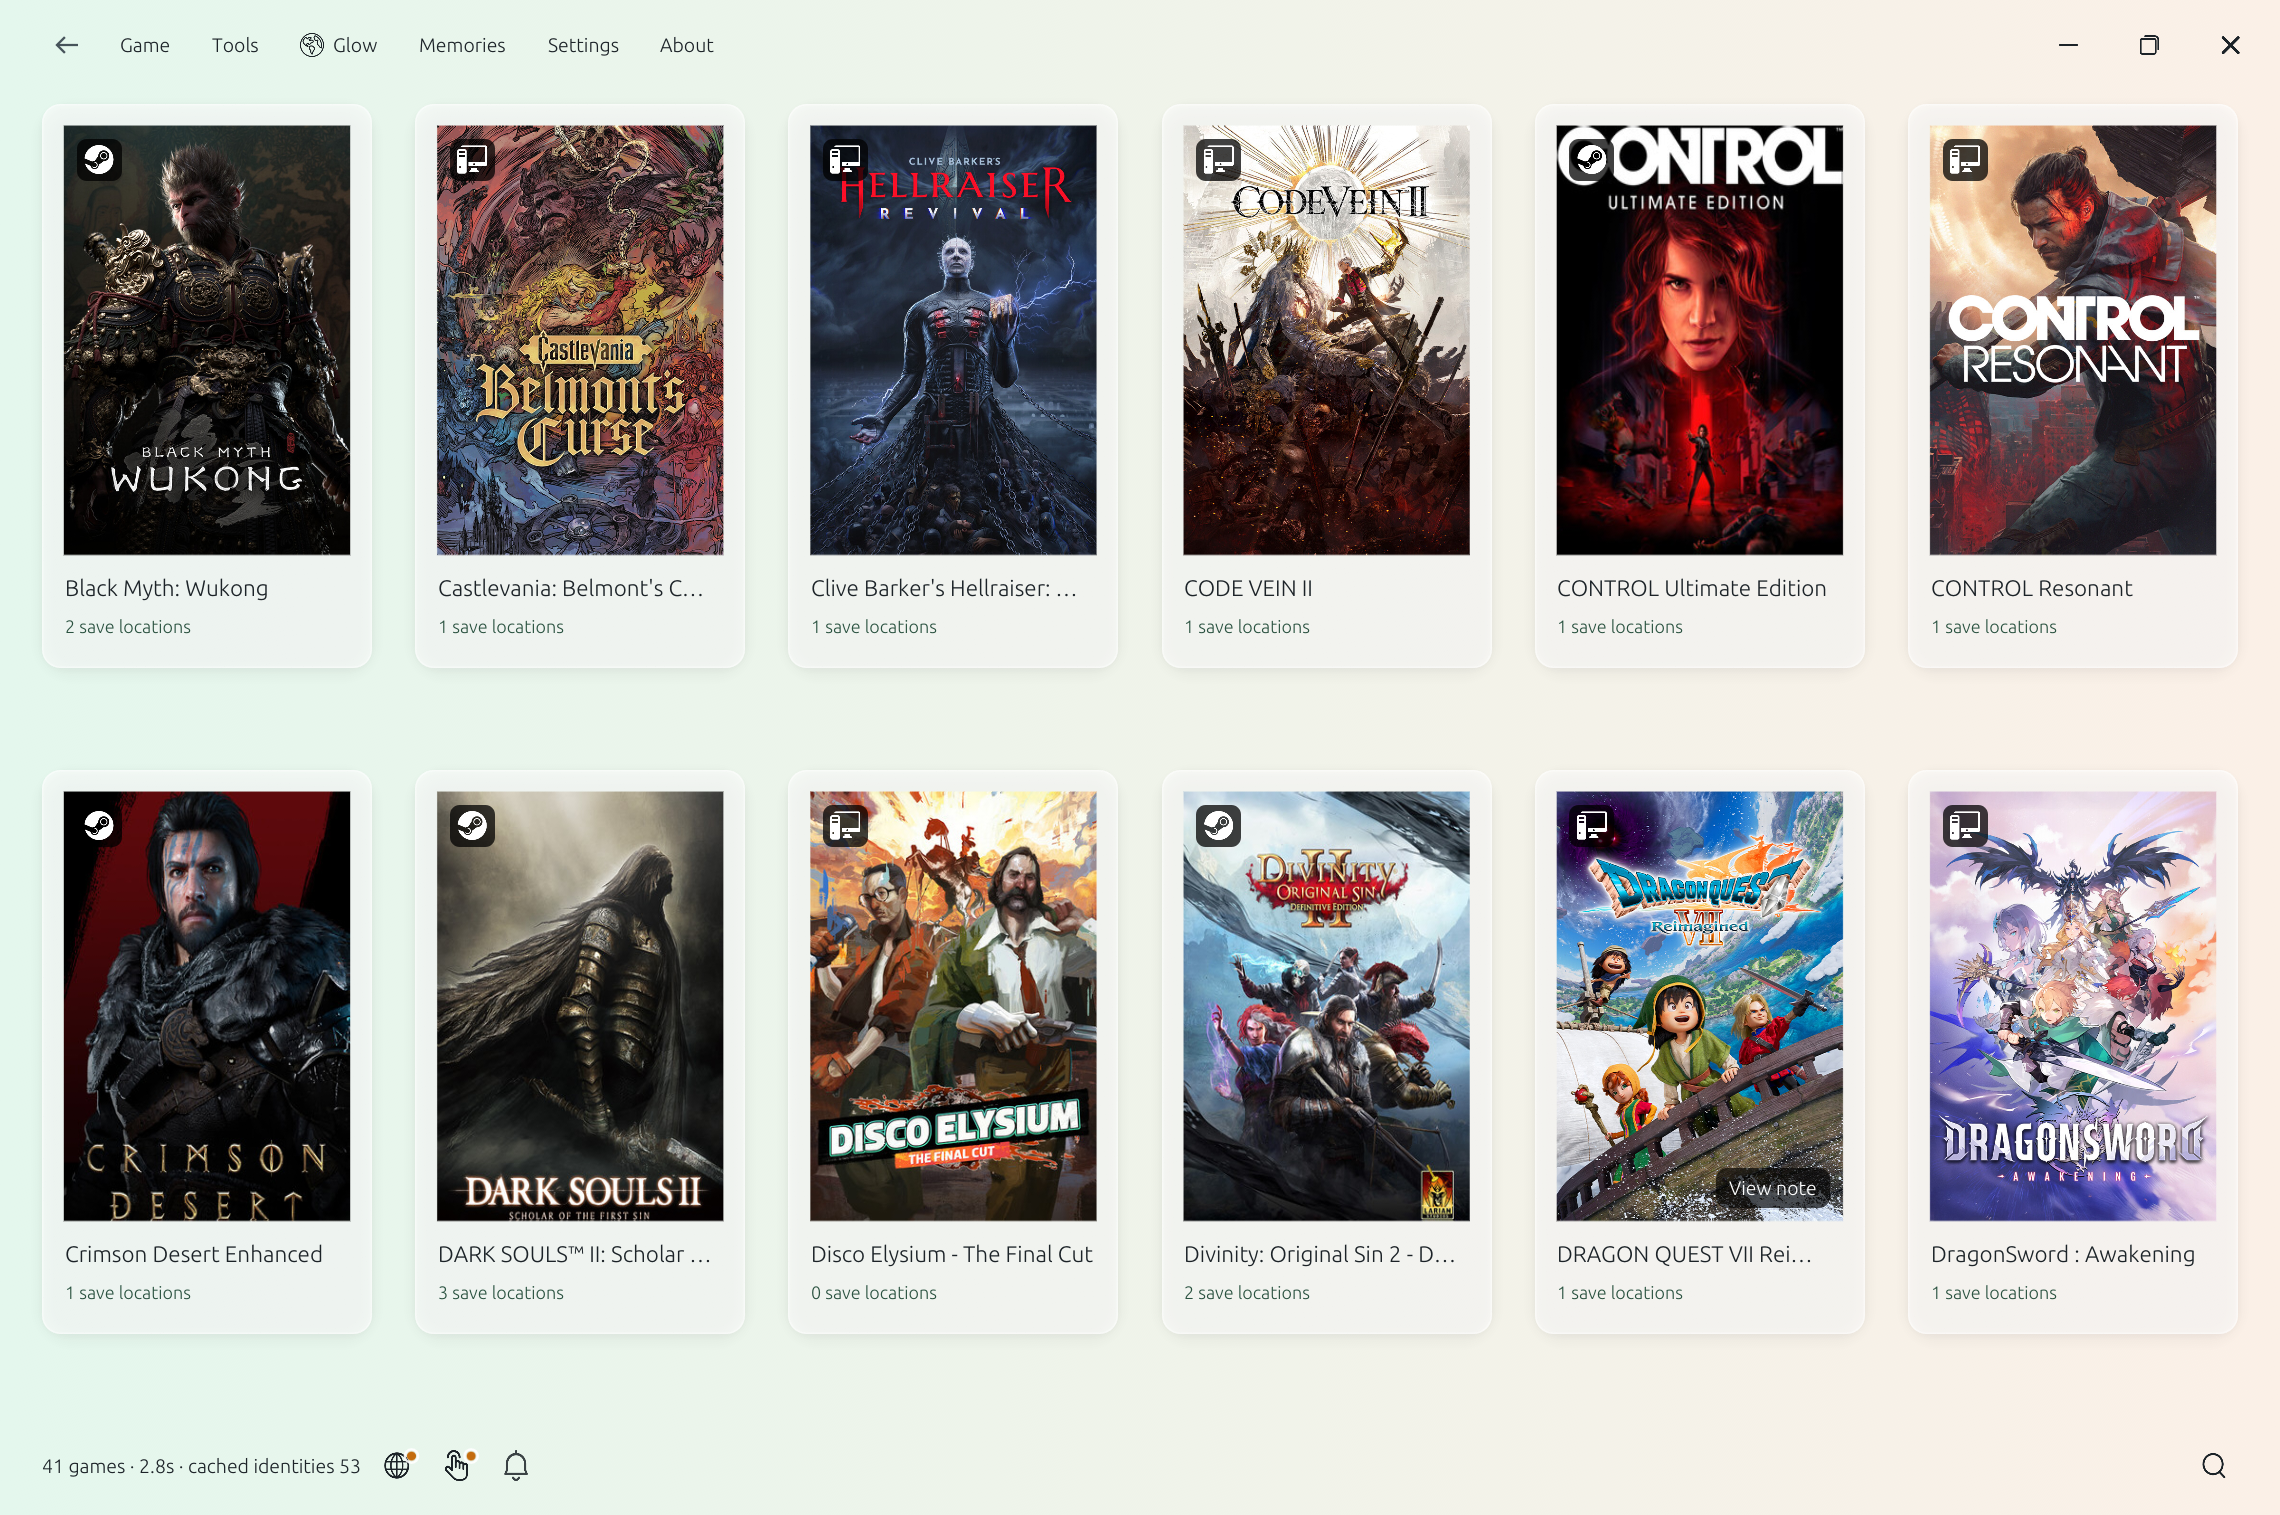
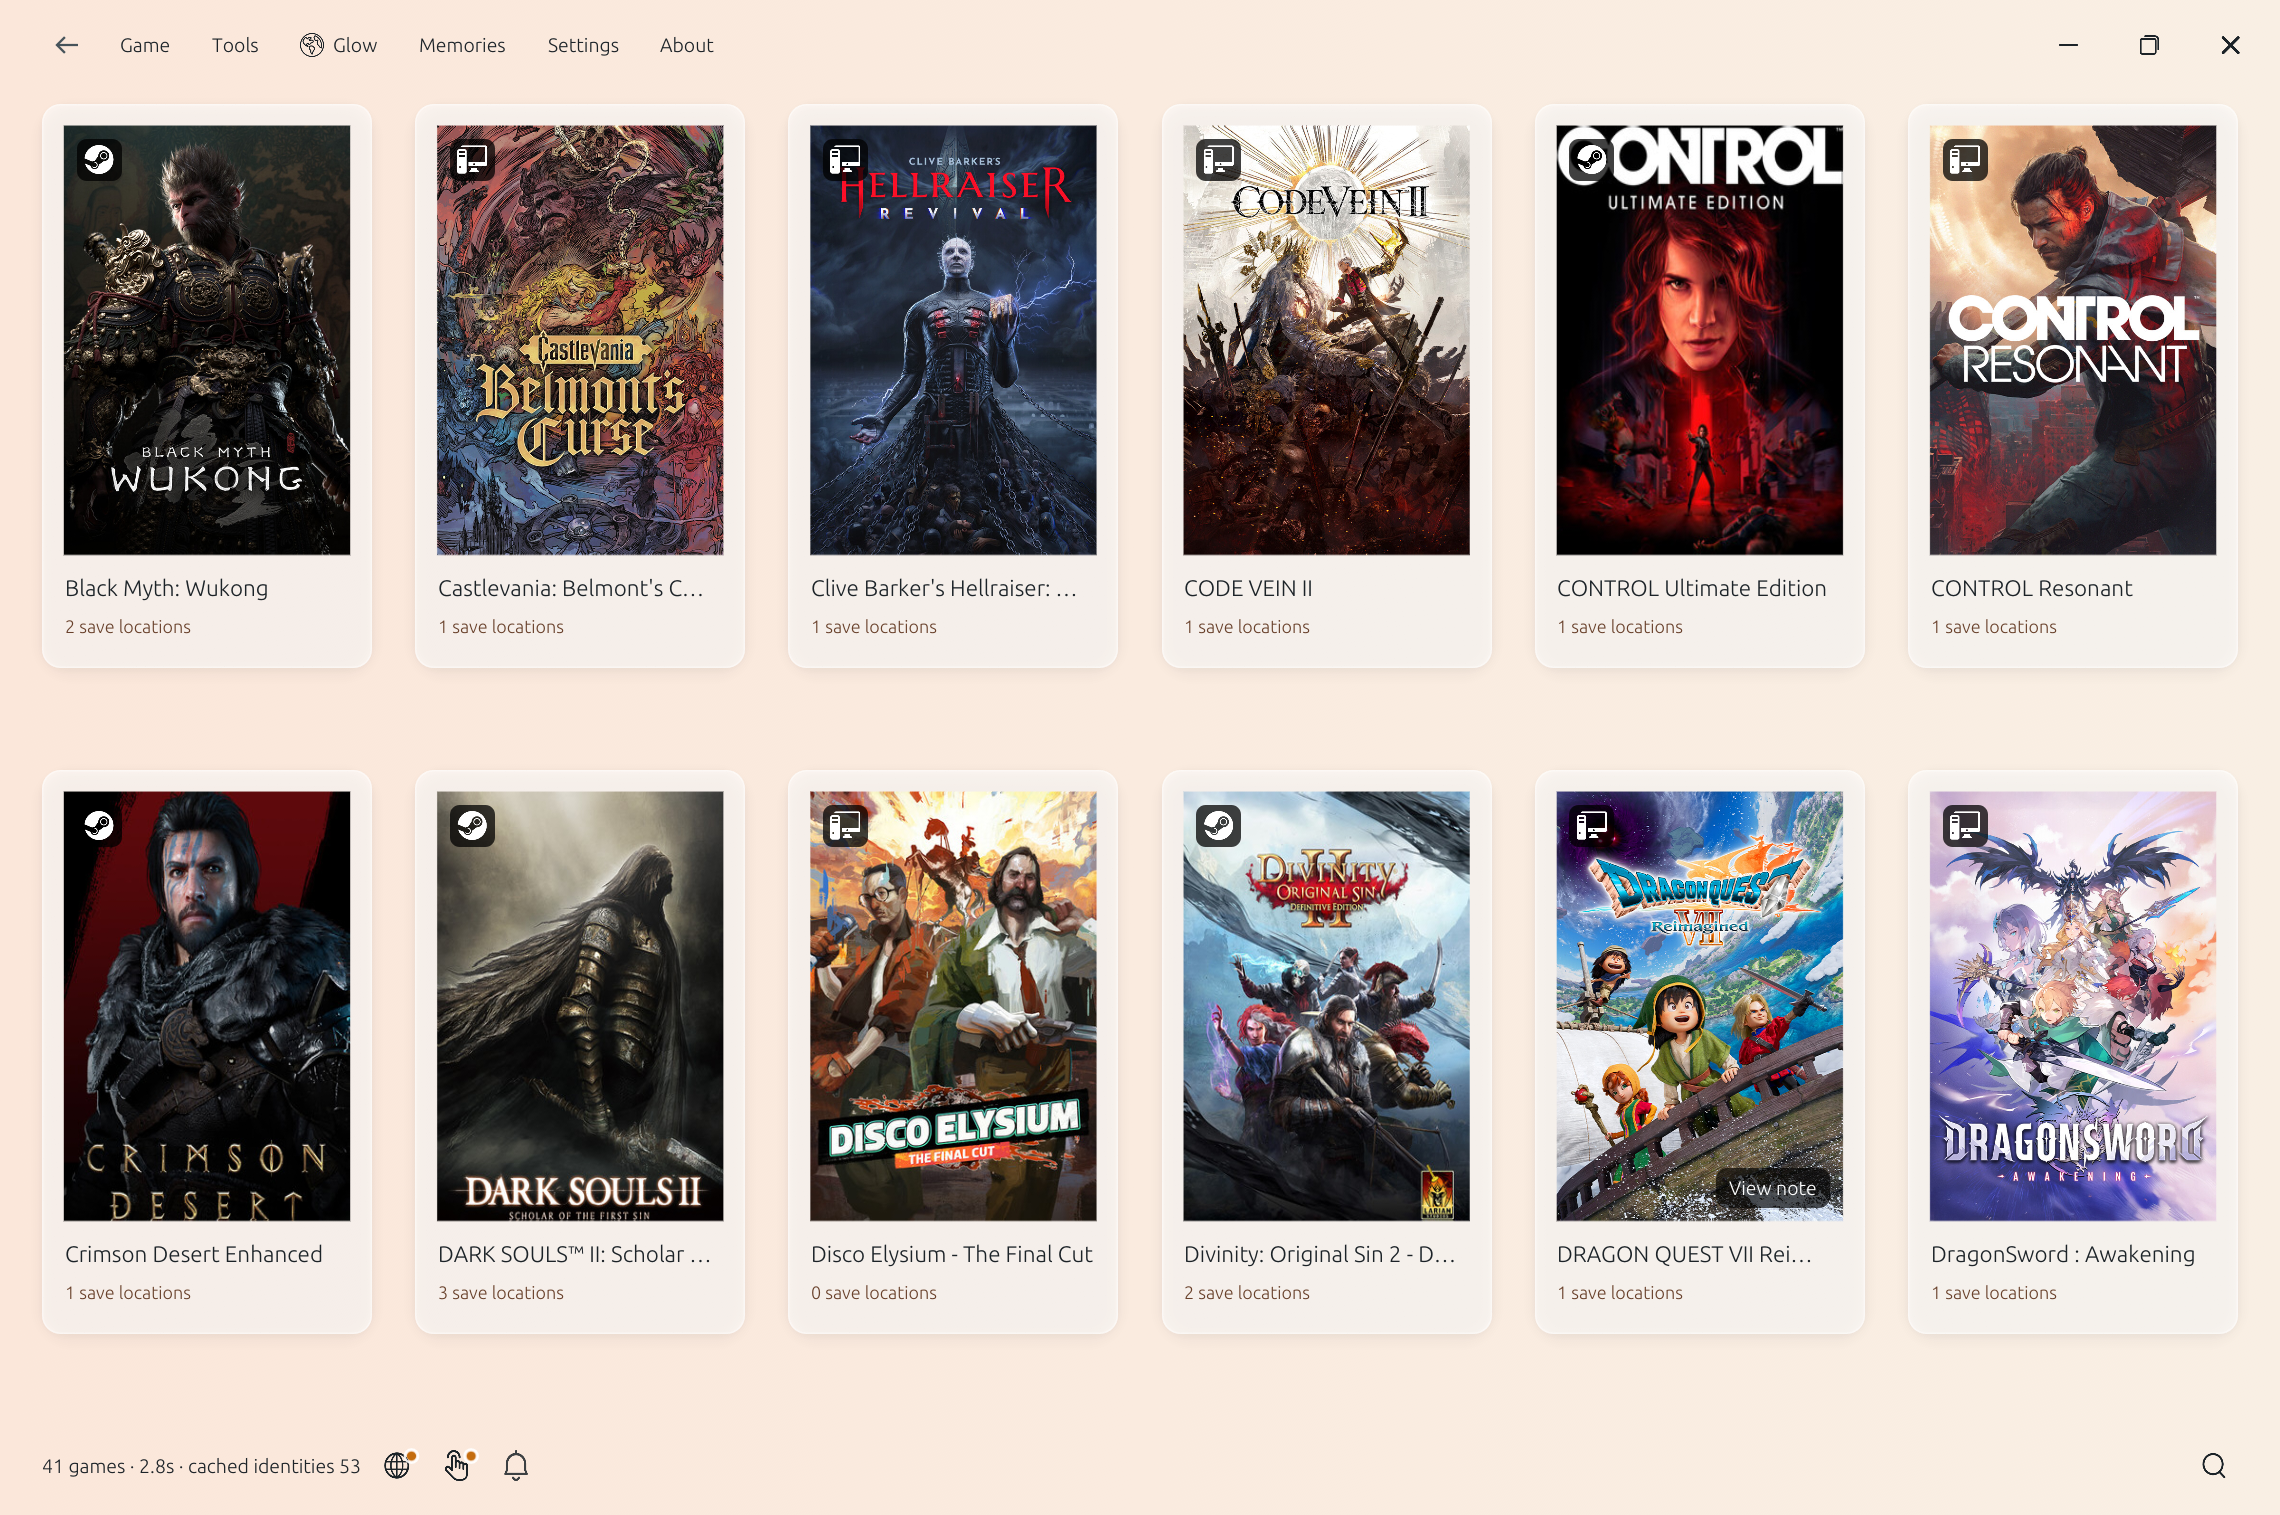
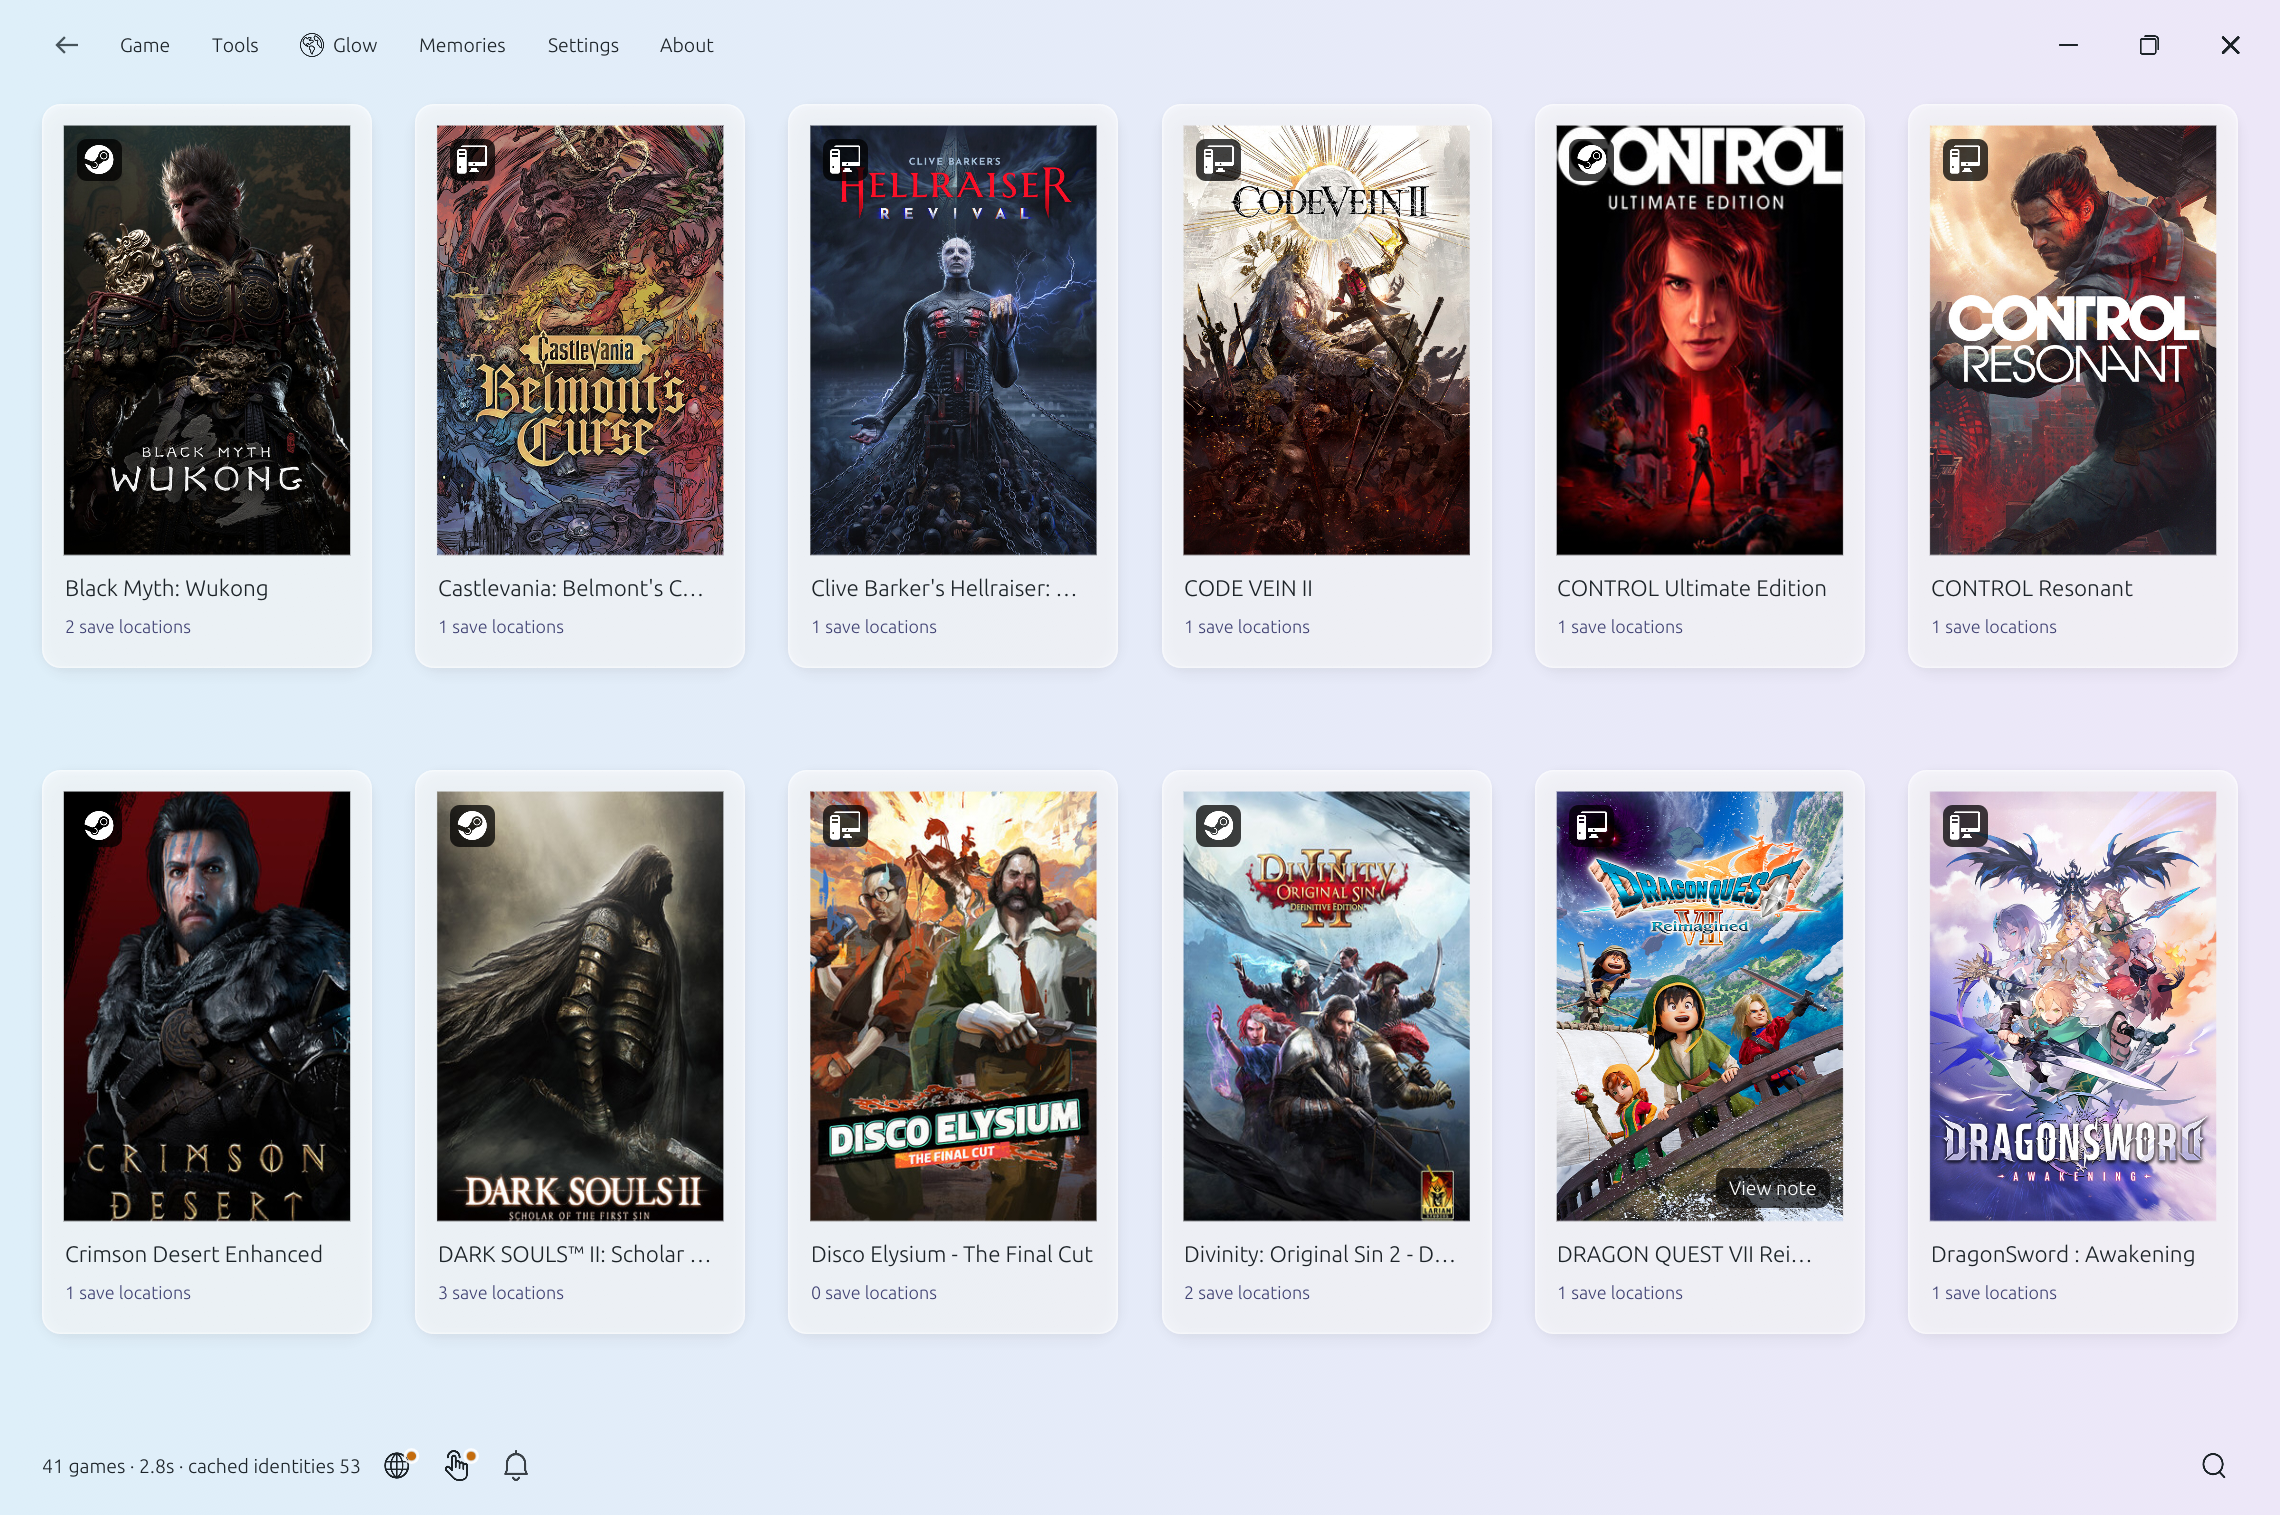
Open Settings → Theme and choose one of the three built-in presets: Morning Mint, Apricot Sunset or Blue Twilight. Language and theme are independent choices.
The preset changes the library, map, Notes and encounter card together. Custom backgrounds are a separate appearance option; these images show the built-in presets.

10. When something needs attention
No people on the map? Check your connection and the selected city. An empty city may simply have no public SoulSpark sessions. Browsing does not require you to share yourself.
Cannot start a conversation? Check that both people are playing the same game, the other person is available, and the invitation was accepted. Network conditions can still prevent a connection.
Cannot find a note? Check the Notes tab, clear the search or game filter, then look for its title. View note on a game cover opens only the note you explicitly pinned.
A backup is blocked? Recheck identity, source, account, process state and cloud sync. Do not restore to an uncertain source.
Capture, focus, HDR, exclusive fullscreen and real cross-device behaviour vary by game and display mode; validation is ongoing. Screenshot translation, AI game Q&A and direct website purchasing are not available features.
For help, email [email protected] with the app version and a description. Crop or remove private information from any screenshot you choose to share.
Back to top ↑